
There aren't any BEFORE pictures of my craft area, because I didn't have one! While trying to do the 40 day challenge, I decided to take it to the next level by completing re-doing Isabel's room. I love the idea of spring cleaning like the 40 day challenge (an area per day), but my house needed a huge overhaul, way beyond that structure.
We have talked about turning her room into more of a playroom for a while. Our house had been exploding with toys everywhere, and I really couldn't take in anymore...I wanted my living room back! I'm not going to get to much into the re-do of her room, because I will post pictures of it when it's done..almost there! Basically my idea was to get rid of both of her dressers (which we barely used), put all of her clothes in her closet, and get almost all of the toys into her room. While thinking about the set-up for her room, I had the thought to put a craft desk in there for me. I came up with this idea sometime in the middle of the night, when my brain works best. When I told Adrian, he was extremely excited. I think his exact words were "I've been dreaming the day when you would want to get all of your craft stuff in one place instead of all over the house!". Ummm...Why didn't you say something sooner!?!
A couple weeks back, I posted pictures of my craft desk. It had been a huge mess, but after organizing it, I realized it really wasn't functional at all! There wasn't room for my sewing machine, and when I tried to sit down and "create" something, but I had to get up every five minutes to get a supply from wherever it was stored in the house. Just to give you an idea, I had stuff in Julian's closet, our closet, and various tupperware type containers throughout the house. We don't have a garage, or any storage other than bedroom closets.
Last night I decided to organize my ribbon. There isn't a more beautiful sight than something color coordinated, and most of all, functional! Below is my collection on 3/8" ribbon...

Which before, looked like this:

I had been storing my ribbon in the ribbon containers, for a while. But, they were in the back of Julian's closet on the a shelf. Not in an easily visible or accessible place. I purchased the ribbon containers at Michael's. I can't remember how much they cost, but I know that I slowly bought them so that I could use a 40% off coupon for each one. I may have dragged my mom or Adrian to use a coupon too (since it's one per person).
See the shelf they are on? Well, I decided to hang that up by myself one day last week when Adrian was at work. It wasn't particularly hard, but that 's something that Adrian usually does. I finally got it in the exact place I wanted it, after drilling 12 unnecessary holes in the wall! Luckily, you can't see them because they are behind the shelf. The lesson learned is measure twice, drill once. The first time the shelf was too far to the left (meaning I couldn't even put it up because of the wall on the left), and the second time, there was a three inch gap between the wall on the left and the shelf. I almost left it like that, but my mom looked at it and laughed. So, I fixed it. And, finally it was in the corner where I wanted it.

I love these ribbon boxes compared to hanging the rolls on dowel rods. I don't have to tape up the ribbon, and they are easily portable. Plus, if I need to take out a roll, or add one, I just lift up the lid instead of having to take a bunch of rolls off the dowel rod. The boxes are meant to stack, and they kind of hook together in the middle so they don't slide around.

When I put up the shelf, I didn't plan on putting the ribbon here, but I just got lucky that 3 boxes fit stacked high, and three wide. There's enough space for two more boxes, and that is exactly what I need to fit the rest of the ribbon.

Here's the leftover ribbon that I need to get containers for.

I only put one roll of each type/color ribbon in the accessible containers on the shelf. The rest of the extra ribbon, I put into these boxes. They are $2 boxes from Michael's meant to organize photos.


I also organized my thread a few nights ago. It used to be organized on the thread rack, but since it had een stored in the back of my closet, all of the rolls had fallen off in a big pile of tangled-thread-mess. Isabel helped me, and it was really fun for her. I told her what color I needed and she would hand me all the pink or all the blue. She was actually a really good helper, and so eager to do it! Can you tell how much ROY-G-BIV has taken over?
We put these up with 3M hooks because I didn't wanted to damage the side of the of the brand new white shelf. I found the 3M hooks on clearance at Target. I left room on each row of the thread rack because I know I will find random spools of thread around the house. A lot of this thread was passed down from my grandmother. Makes me a little teary-eyed thinking I'm sewing something with the same thread that she did 20 or 30 years ago.

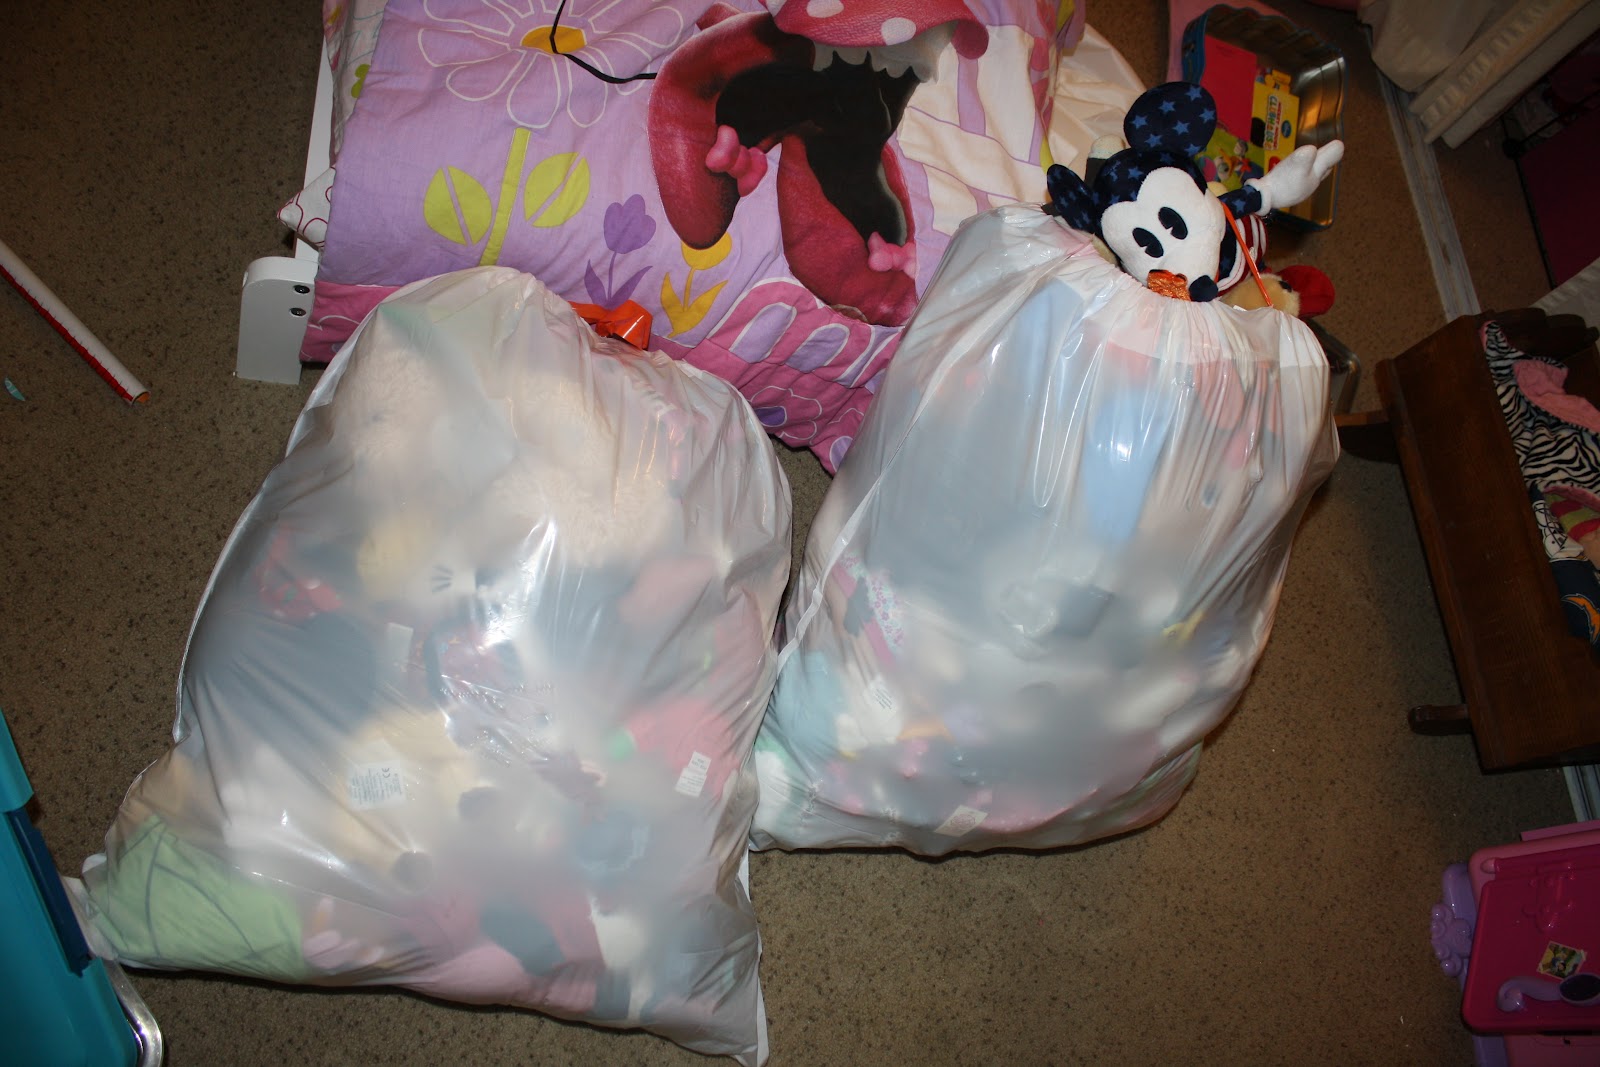
Here are all of the stuffed animals, at least the ones that we kept. Two full trash bags stuffed to the brim! Can you believe, that I actually donated another trash bag full of them?
Here's my little helper. Isn't she cute!

We managed to

The room and craft area are almost done. I'm hoping by this weekend. I am getting so anxious to make something! I wonder where I'll start...

No comments:
Post a Comment